Installing a carburetor can be a rewarding project for any DIY mechanic looking to improve engine performance and reliability. The carburetor is a vital component that controls the air-fuel mixture entering the engine, directly affecting fuel efficiency, power, and emissions. Choosing a universal carburetor offers flexibility since it can fit various engine types and models, making it a popular choice among automotive enthusiasts and repair professionals.
This comprehensive guide will walk you through the installation process of a universal carburetor, highlight important considerations to ensure optimal performance, and provide practical tips for troubleshooting and maintenance. By understanding the function and proper installation techniques, DIY mechanics can confidently handle carburetor replacement or upgrade projects.
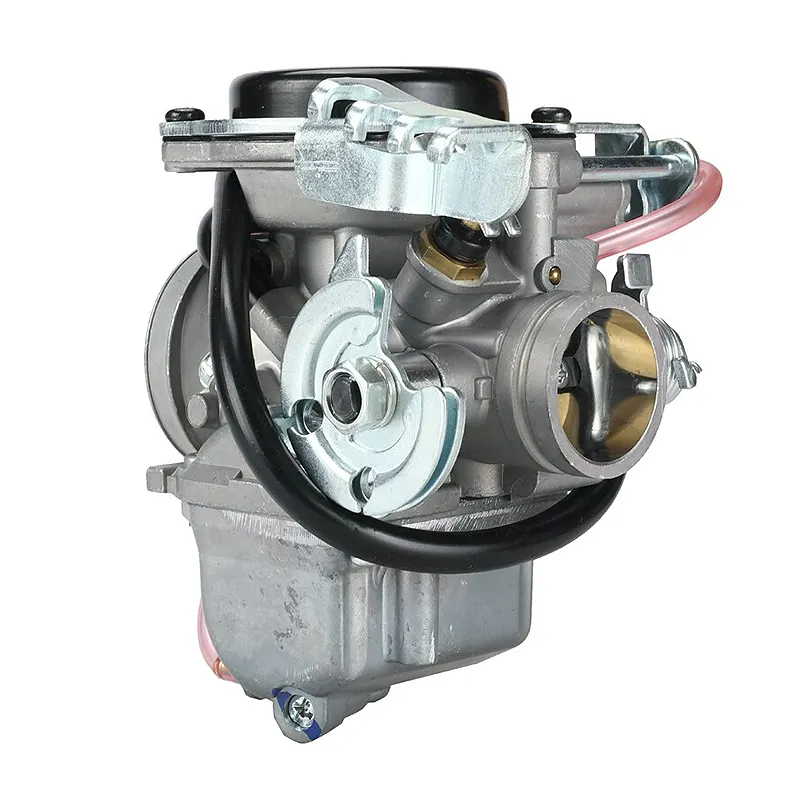
The carburetor’s primary function is to mix air and fuel in the correct ratio before the mixture enters the combustion chamber. Proper air-fuel mixture ensures efficient combustion, which translates to better engine performance and fuel economy.
Carburetors regulate fuel delivery based on throttle input, engine load, and speed. Any malfunction or improper installation can lead to issues such as rough idling, poor acceleration, or increased emissions. Understanding these fundamentals helps in appreciating why a correctly installed carburetor is critical.
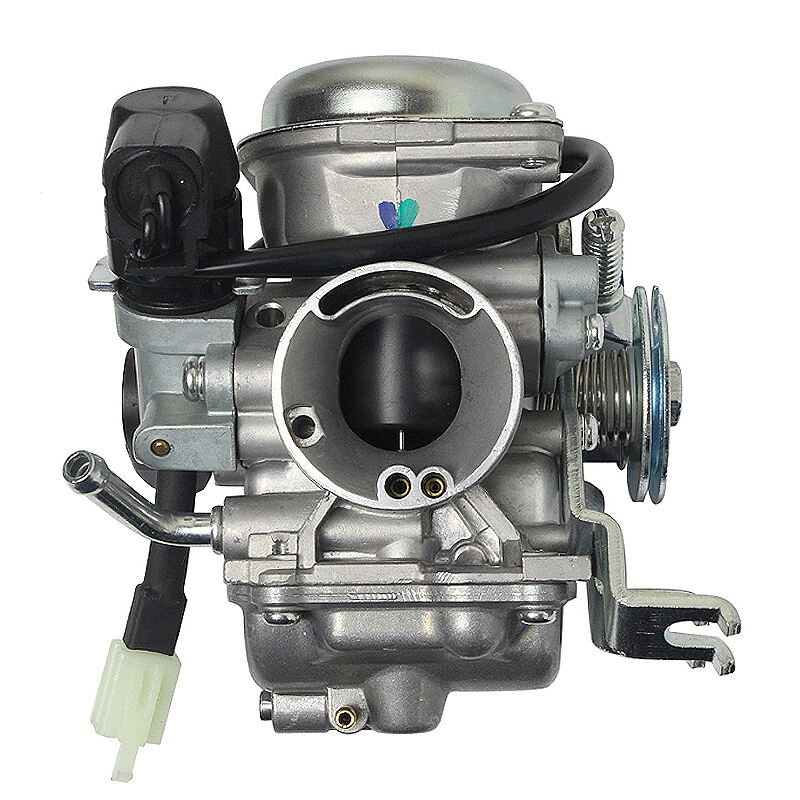
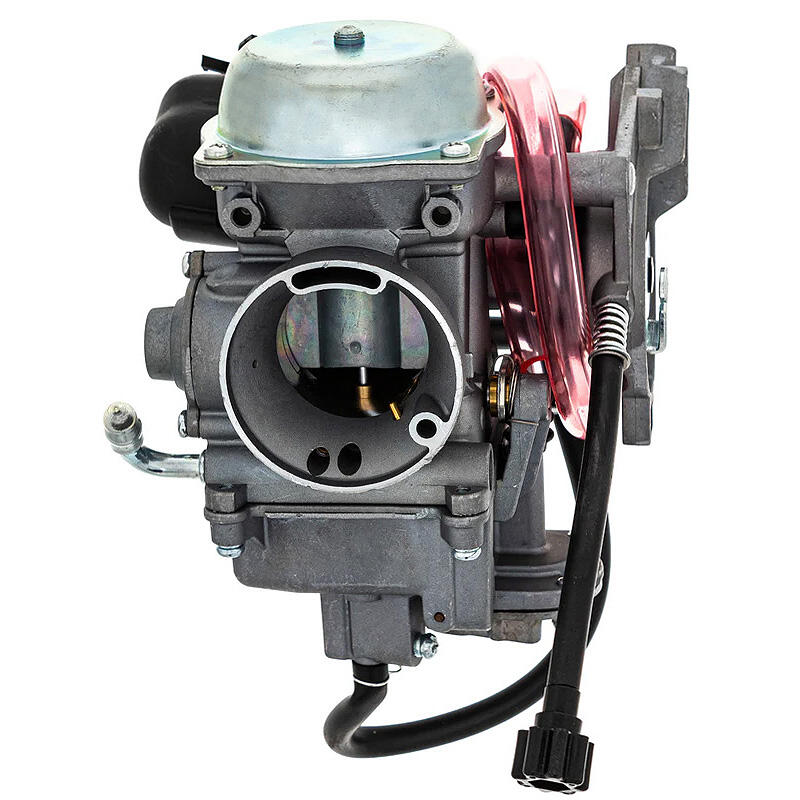
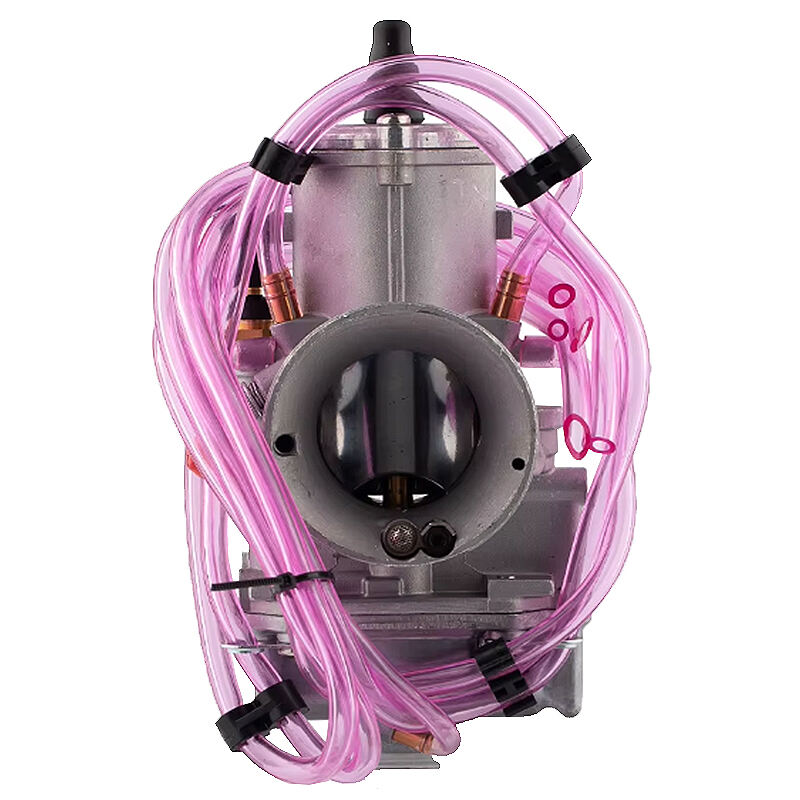
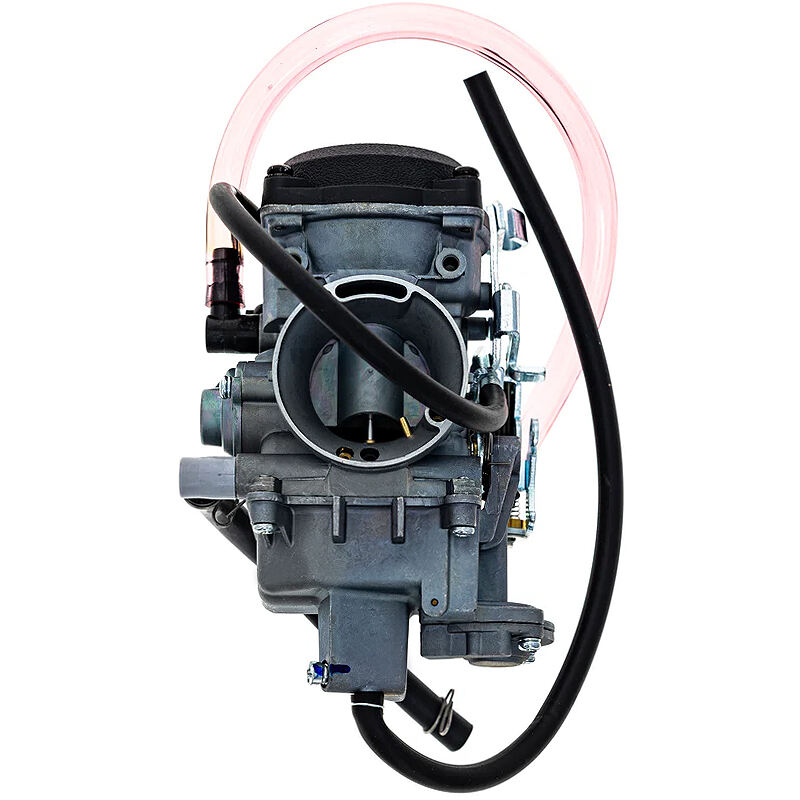
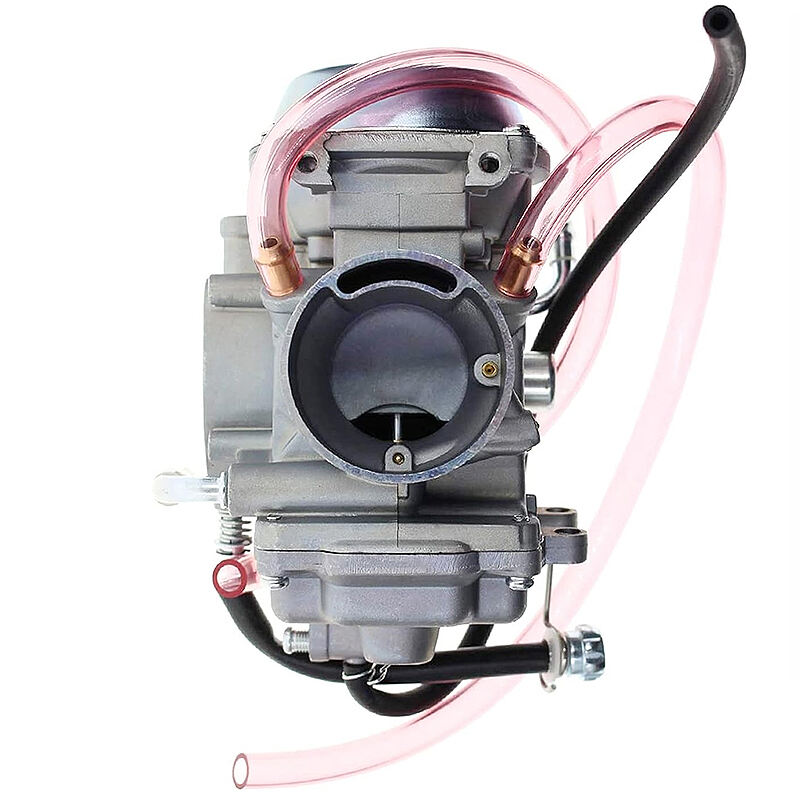
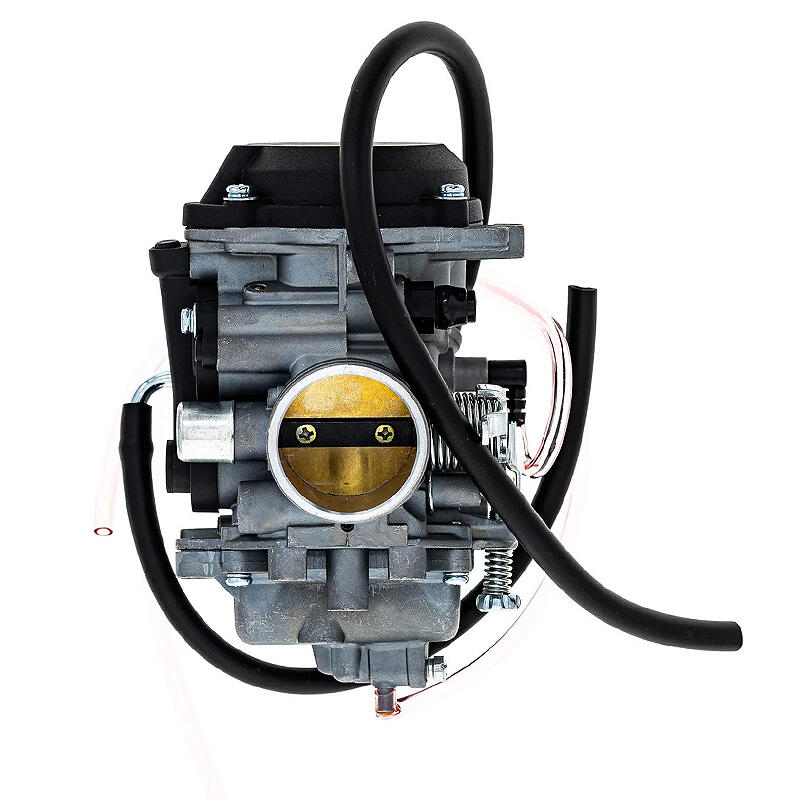
A universal carburetor is designed to fit a wide range of engine models, reducing the need to find a specific carburetor for every engine. This flexibility simplifies inventory management for mechanics and hobbyists.
Universal carburetors often come with adjustable settings, allowing fine-tuning for optimal air-fuel ratios depending on the engine’s specifications. Their design usually incorporates modern materials and precision manufacturing, enhancing durability and efficiency compared to older carburetor models.
Before starting the installation, gather all necessary tools such as wrenches, screwdrivers, pliers, gasket scrapers, and a torque wrench. Additionally, ensure you have a clean work area and replacement gaskets or seals compatible with the universal carburetor.
It’s also helpful to have carburetor cleaner and safety equipment like gloves and eye protection. Preparation minimizes the risk of errors and streamlines the installation process.
Working with fuel systems involves potential fire hazards, so it is important to disconnect the battery and ensure there are no open flames or sparks nearby. Also, drain any fuel remaining in the old carburetor or fuel lines to avoid spills.
Inspect the intake manifold and mounting surfaces for cleanliness and damage. Removing old gasket material completely will ensure a proper seal with the new carburetor, preventing leaks.
Start by disconnecting all linkages, fuel lines, and vacuum hoses attached to the old carburetor. Labeling these connections can help during reassembly.
Next, loosen and remove the mounting bolts or nuts holding the carburetor in place. Carefully lift the carburetor off the intake manifold. Inspect the mounting surface for any debris or damage that may affect the new carburetor’s fitment.
Position the new carburetor on the intake manifold with a new gasket to ensure a tight seal. Secure it by tightening mounting bolts to the manufacturer’s specified torque.
Reconnect all fuel lines, vacuum hoses, and linkages exactly as they were on the old carburetor. Double-check that all connections are firm to prevent leaks or performance issues.
Once installed, the carburetor needs to be adjusted for optimal air-fuel mixture. Use the idle mixture screws to achieve smooth idling and stable engine operation. Adjust the idle speed screw to set the correct RPM at idle.
Proper tuning not only improves performance but also reduces fuel consumption and emissions. Periodic tuning may be necessary as the engine breaks in or operating conditions change.
Start the engine and listen for any irregular sounds or rough idling, which may indicate improper installation or adjustment. Observe throttle response and acceleration to ensure smooth operation.
If issues arise, check for vacuum leaks, fuel delivery problems, or incorrect linkage adjustments. Revisiting the installation steps and adjustments often resolves common problems.
Carburetors can accumulate dirt and varnish from fuel over time, which may impair performance. Regular cleaning with carburetor cleaner and inspection of all components prolongs the carburetor’s lifespan.
Pay special attention to jets, float levels, and linkage mechanisms. Keeping these parts clean and functional prevents engine performance issues.
Despite regular maintenance, carburetors can wear out or become outdated. Signs such as persistent rough idling, poor fuel economy, or frequent stalling suggest it might be time for replacement.
Upgrading to a more efficient universal carburetor can offer better fuel atomization, easier tuning, and compatibility with modern engine modifications. This can improve overall driving experience and reduce maintenance efforts.
A universal carburetor is designed with adjustable mounting points and features to fit a broad range of engine types, eliminating the need for model-specific carburetors.
Initial adjustments should be made after installation, followed by periodic tuning based on engine performance, typically every 10,000 to 15,000 miles or as recommended by the manufacturer.
While universal carburetors are versatile, some engines may require specific adapters or modifications. Checking compatibility before purchase is important to ensure proper fitment.
Common issues include vacuum leaks, incorrect linkage adjustments, or improper gasket installation. Careful adherence to installation instructions and thorough testing help prevent these problems.
 Hot News
2024-07-02
2024-07-02
2024-07-02

Explore the world of Moto-Tec, a pioneer in carburetor manufacturing with over 5 years of expertise. Our extensive range of carburetors caters to motorcycles, automobiles, generators, and agricultural machinery, ensuring efficiency, reliability, and environmental friendliness. Trusted by customers across 23+ countries, we offer technological innovation, exceptional quality, product diversity, and outstanding service.
F2, Building A, No. 38 Huayi Road, Fuding City, Fujian Province, China
Copyright © copyright © 2025 by Fujian ULY Industry & Trade Co., Ltd. Privacy Policy